10 Hidden Workflow Secrets in Lightroom
Lightroom is a deep program with amazing functionality. Despite (or maybe because of) the enormous amount of documentation available online and elsewhere, it can be tough to unearth some often overlooked but otherwise useful features. Here are ten of my favorites.
Library Module Secrets
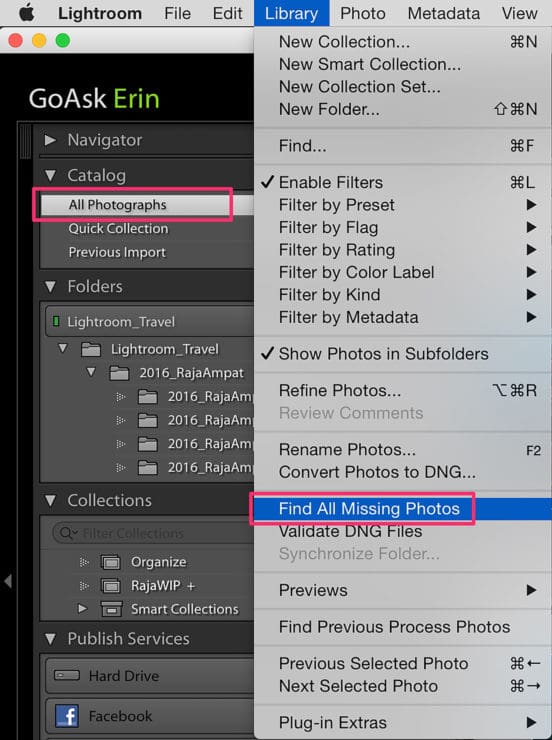
- Do you know where your images are? Select “All Photographs” in the Catalog Panel, and go to Library>Find All Missing Images. If files have become unlinked or otherwise can’t be located by the Lightroom catalog, they’ll show up in a temporary collection and you can hunt them down for re-linking. I do this as a general housekeeping chore at least once a week.
- You can change the width of the side panels by rolling the cursor over their inside border until you see a little double-headed arrow, then dragging to adjust. Holding down Option (Mac) or Alt (PC) while you click and drag expands the limits of how wide the panels can be made. This is useful if you have lots of nested folders and find that the names are cut off or hard to read.
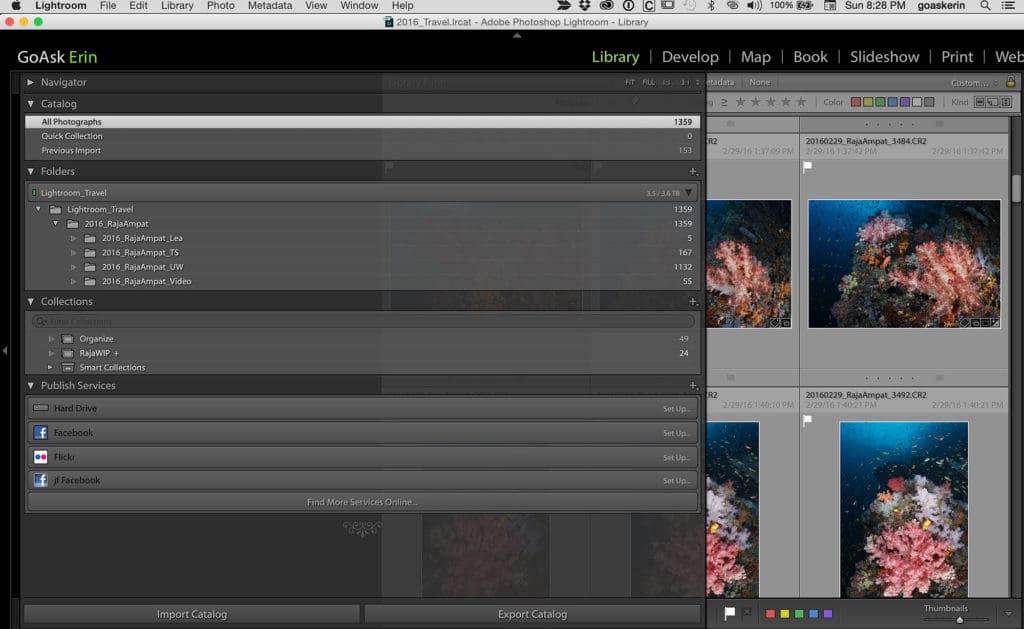
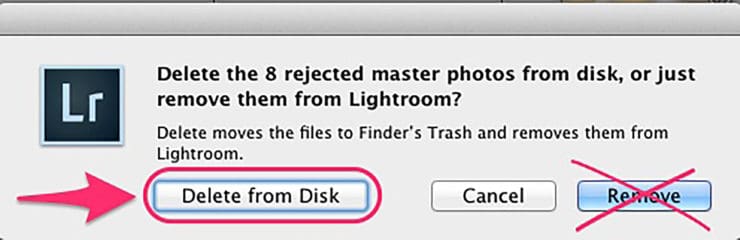
- Use the keyboard shortcut “X” to mark clunker images for deletion, then Command-Delete (Mac) or Control-Backspace/Delete (PC) to trash them all at once. This saves you from having to answer the same question from Lightroom for each and every image you want to delete. Choose “Delete from Disk”, not Adobe’s default of “Remove”, or the images will be removed from the Lightroom catalog, but not from your drive.
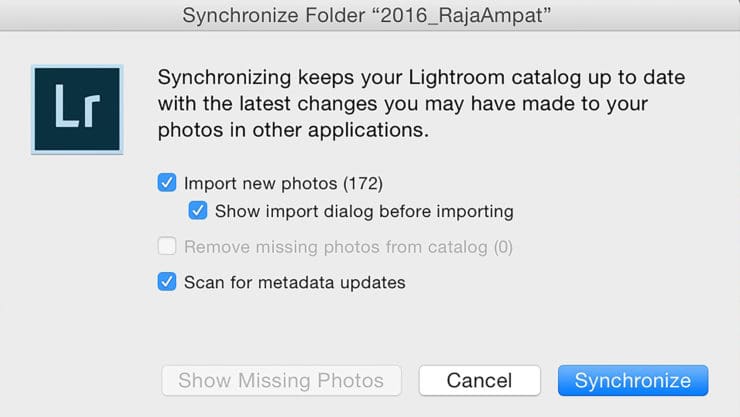
- The Folders Panel reveals every image that’s been imported by Lightroom, but there may be other images hiding out in the referenced folders that Lightroom doesn’t know about. Control-click (Mac), or Right-click (PC) on any folder and choose “Synchronize Folder” from the contextual menu. Lightroom compares the contents of the folder with the catalog to see if there are any un-referenced images present. Check on “Show Import Dialog before Importing” to decide whether or not to bring in the squatters.
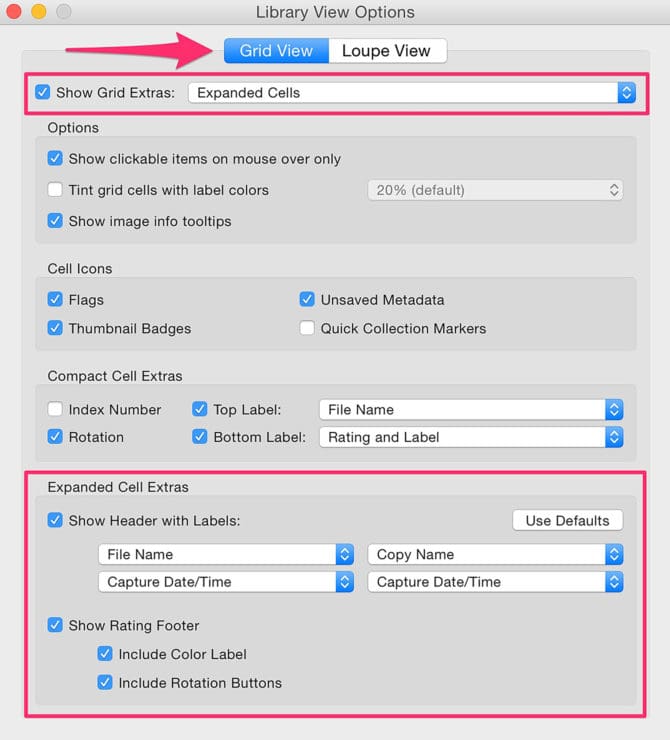
- Pimp your grid by going to View>View Options, Grid View Tab and choosing Expanded Cells from the first dropdown menu. Go down to the Expanded Cell Extras panel and choose up to four bits of information to display on your image thumbnails. I use File Name, Capture Date/Time, Copy Name and Cropped Dimensions. In Loupe view toggling “I” cycles through two sets of info that can be configured similarly in the Loupe View Tab of View Options.
Develop Module Secrets
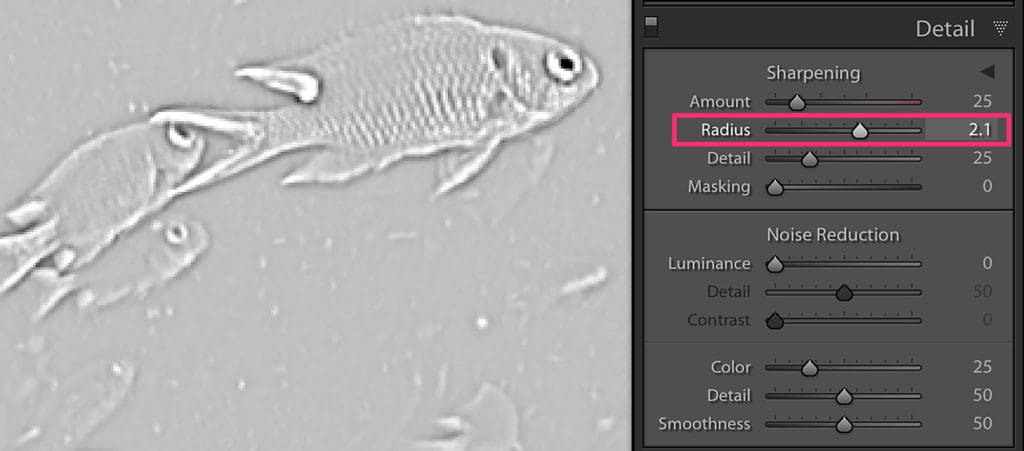
- In the Basic Panel, holding down Option (Mac) or Alt (PC) while sliding Exposure, Highlights, Shadows, Whites, or Blacks reveals a Clipping Preview that lets you see exactly when you start to clip (lose data) in your image. In the Detail Panel, Holding down Option/Alt while sliding the Sharpening and Noise Reduction Sliders produces a grayscale version of the image, which makes adjustments easier to see.
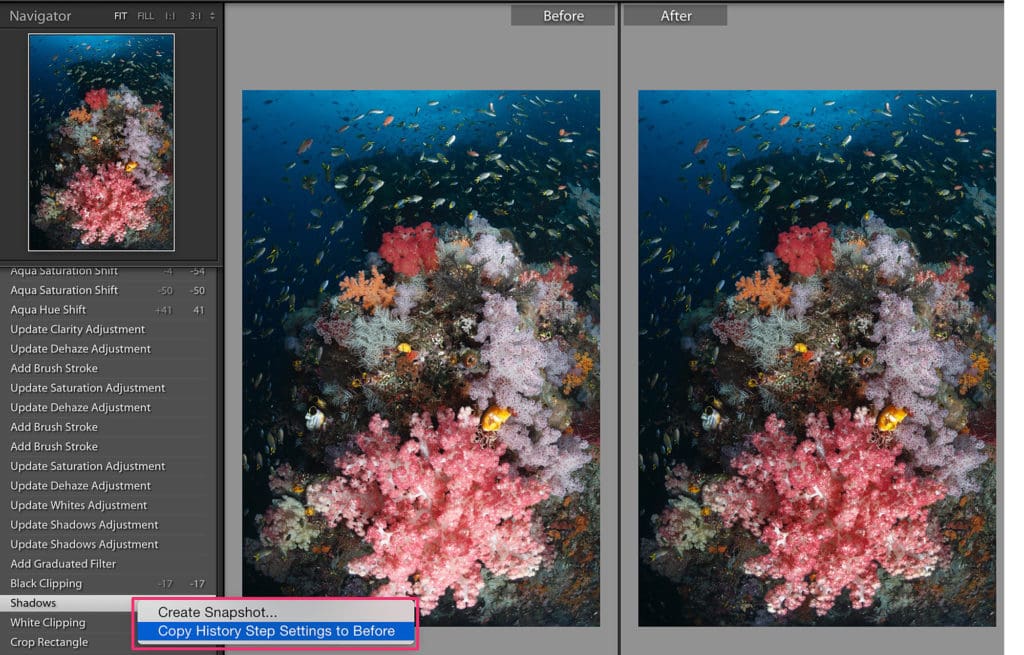
- It’s important to frequently compare Before and After Views while editing. The backslash “\” key shows a full image before and after view, and tapping “Y” toggles a side-by-side view. By default, the Before state is set to whatever’s at the bottom of the History panel. Control-click (Mac) or Right-click (PC) on any History state to reveal a contextual menu. Choose “Copy History Step Settings To Before” to set that History state as the new Before view.
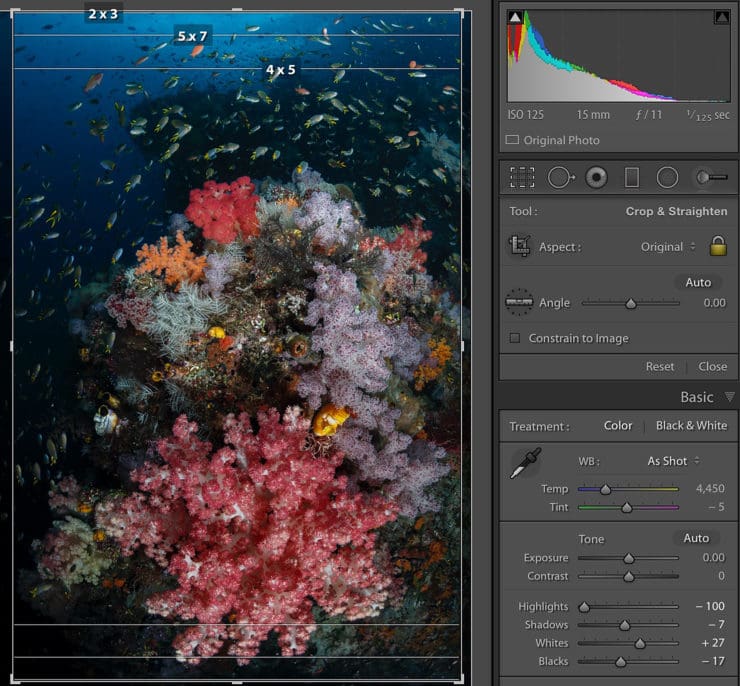
- In the Crop Tool, tapping “X” exchanges horizontal and vertical crops. Tapping “O” repeatedly toggles overlays that represent various compositional principals or commonly used aspect ratios.
- Option- apostrophe (Mac) or Alt-apostrophe (PC) switches the orientation of a graduated filter, and toggles the “Invert” checkbox on and off when using a radial filter.
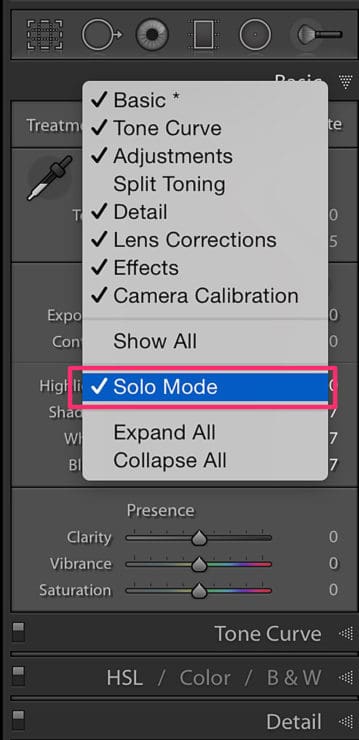
- Activate Solo Mode to automatically keep only one Develop panel open at a time. This is a huge time-saver, especially if you’re working on a laptop. As you open a new panel, whatever’s already open automatically collapses, saving you from continually scrolling up and down to find the tools you need. Control-click (Mac) or Right-click (PC) on the dark gray area of any panel and check Solo Mode on in the ensuing menu. From the same menu, you can toggle any Develop panel on or off.
- For quick video color-correction in Lightroom, extract a jpeg still frame from the video clip, edit it in the Develop Module, and synchronize the changes back to the original in the Library Module. Lightroom isn’t a full-featured video editor, but it’s perfect for dabblers who just want to throw a few clips up onto social media. Here’s a detailed tutorial video demonstrating the technique: