Nerd Alert! The Mystery of the Missing HSL Panel SOLVED!
The Mystery of the Missing HSL Panel SOLVED!
Read more about Lightroom 13!
Read more on Adobe’s Blog about other new features added to the October 2023 Release of Adobe Lightroom Classic 13.0.

Is your Lightroom Classic Develop Module suddenly missing its HSL Panel? Don’t panic. HSL in all its glory has been nested in the new Color Mixer Panel under the “Mixer” tab. Nothing has changed but its location. HSL looks and works exactly as it did in previous versions of Lightroom Classic, but don’t stop there. Under the “Point Color” tab is a new set of controls that enable much more granular color selection on the basis of hue, saturation, or luminance. Think of Point Color as the Targeted Adjustment tool on steroids, especially since it can also be accessed in the Masking Panel, finally bringing the power of Hue, Saturation, and Luminance to local adjustments. Huzzah!
Read more on Adobe’s Blog about other new features added to the October 2023 Release of Adobe Lightroom Classic 13.0.

I don’t know a single Lightroom user (me included) who hasn’t noticed alarming exclamation point or question mark icons sullying their Lightroom Library. It can be downright scary to get a warning message on the screen that files are offline or missing, but the truth of the matter is usually no cause for panic. The…

Using a single catalog makes the most of Lightroom’s superpowers A Lightroom catalog is much like an old-school card catalog in a brick-and-mortar library. It contains all kinds of information (metadata) about your images — their physical location on a drive, keywords, ratings and even Develop Module changes, but it does not contain the actual…

Do’s and Don’ts of Editing Wreck Photos Whether moody or magnificent, wreck shots can be a real challenge to edit. Typically taken in less-than-optimal conditions, most wreck photos need help in post to achieve maximum impact. Lightroom and Photoshop offer an impressive array of tools to tease out texture and contrast, but missing the target…

How to make Sexy B&W Conversions in Lightroom The first step to making a good black and white image is implicit in its name.You’ve got to have clean black and real white somewhere in your photo. For the best black and white conversion, you should shoot in RAW, which delivers up to 65,536 shades of…

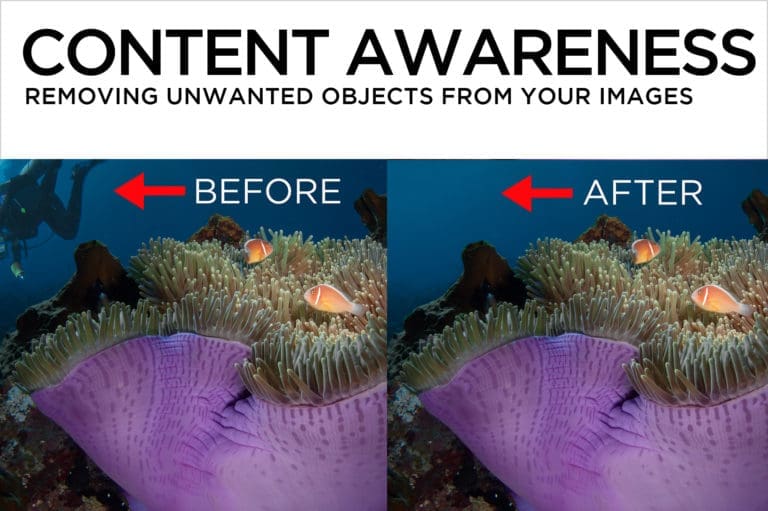
Content Aware Fill is a quasi-magical Photoshop process that removes bubbles, backscatter and bozos from your pictures. When it works as intended, Content Aware Fill is a beginner-level technique that renders stunning results in the blink of an eye. When it’s not quite on the money, a slightly more advanced knowledge of Photoshop’s other super…

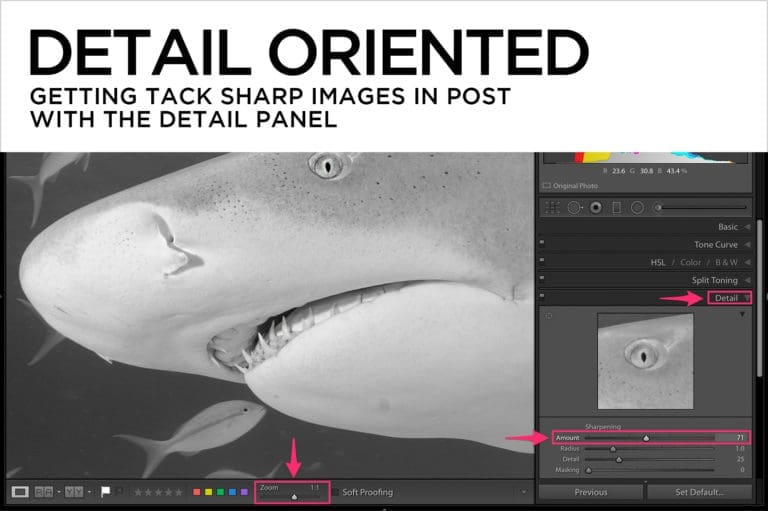
Don’t get too excited. The techniques in this article won’t rescue your out-of-focus images. Out-of-focus photos can’t be recovered in post, but you can (and should) enhance the sharpness of properly focused pictures to maximize their potential. What is Sharpness? Without getting too technical, you might say that sharpness is edge contrast. Sharp edges have…