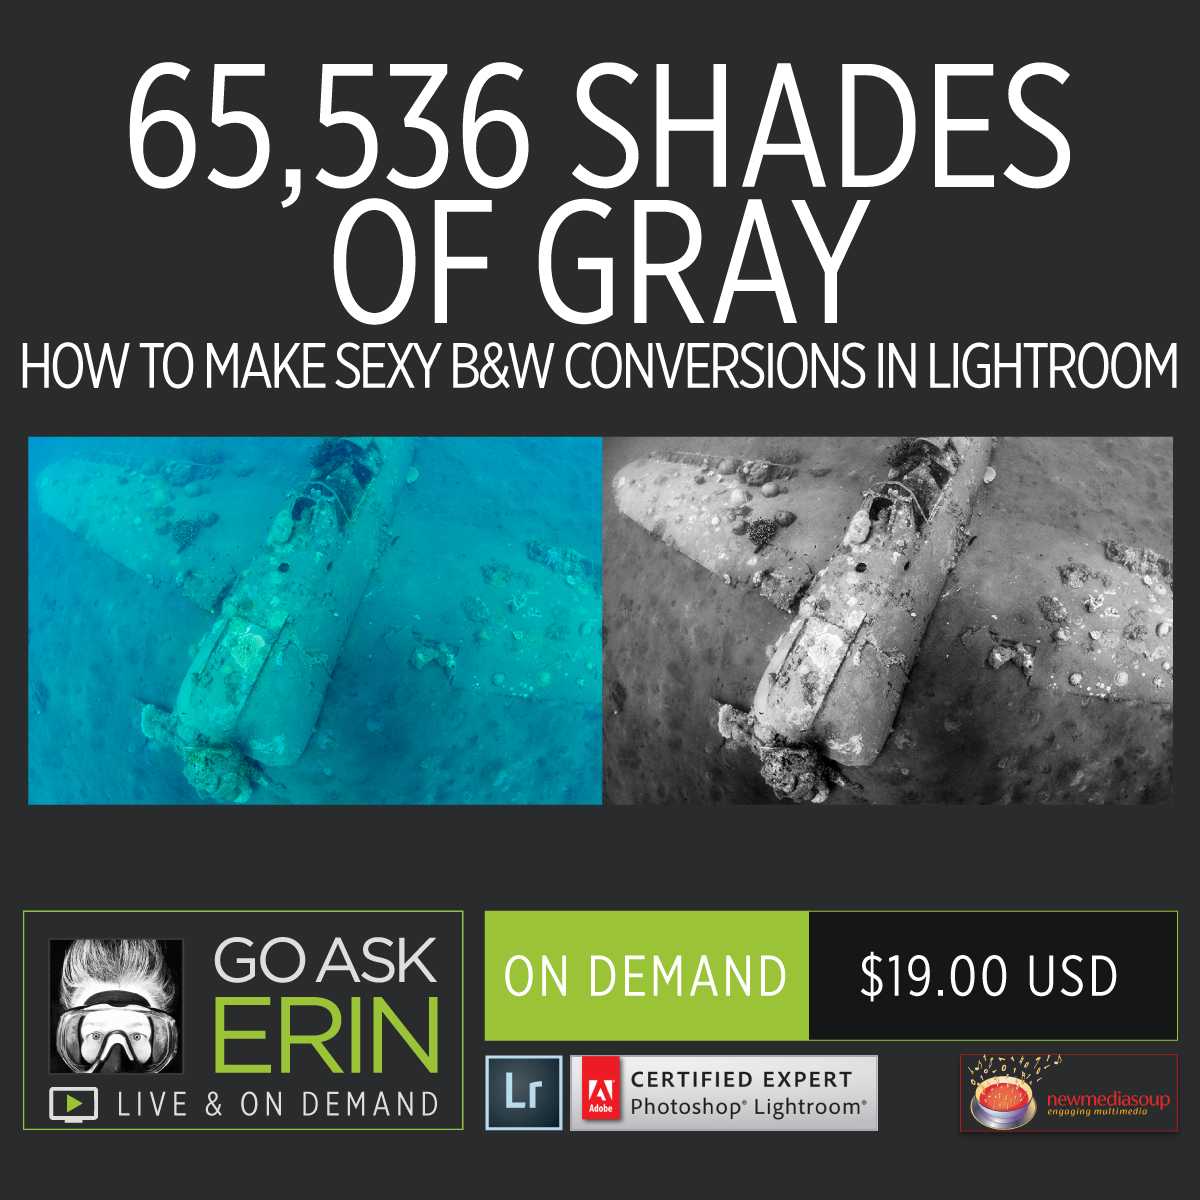

65,536 Shades of Gray – How to Make Sexy Black and White Conversions
$19
Special Covid-19 Pricing.
Already purchased? View Purchases.
ON DEMAND PRODUCT
Description
CLASS DETAILS
Runtime: 1 hour 31 minutes | Up to 1440p (2K) Resolution | Speed Control (.5 – 2x) | Interactive Chapter Markers | Bonus Downloadable Practice Files and Resources Included
CLASS OVERVIEW
Not everything in life is black & white, but every good monochrome image has both – and all the shades of gray in between. A 16-bit RAW file can have as many as 65,536 juicy tones to play with.
Lightroom’s default black and white conversion is predictably tame, but luckily there are myriad techniques in both Lightroom and Photoshop that let you bend the histogram to your will. We’ll examine the elements that make good black and white conversions, and explore plenty of options, from the basic to the baroque.
 LIGHTROOM CLASSIC VERSION INFO
In Lightroom Classic Version 11 and Later, Adobe introduced a new way to make selections and masks in the Lightroom Develop Module. If you’re using Lightroom Classic 11 or Later, we recommend purchasing New Masking Magic in Lightroom Classic 11 in addition to this product to get up to speed on the new masking tools.
CHAPTERS
00:00:15 – Erin’s Intro
00:01:17 – Why Shoot in RAW?
00:02:28 – Auto Conversion is Boring
00:03:39 – Good Candidates for B&W Images
00:11:45 – What Makes Crappy B&W
00:12:50 – White Balance 1
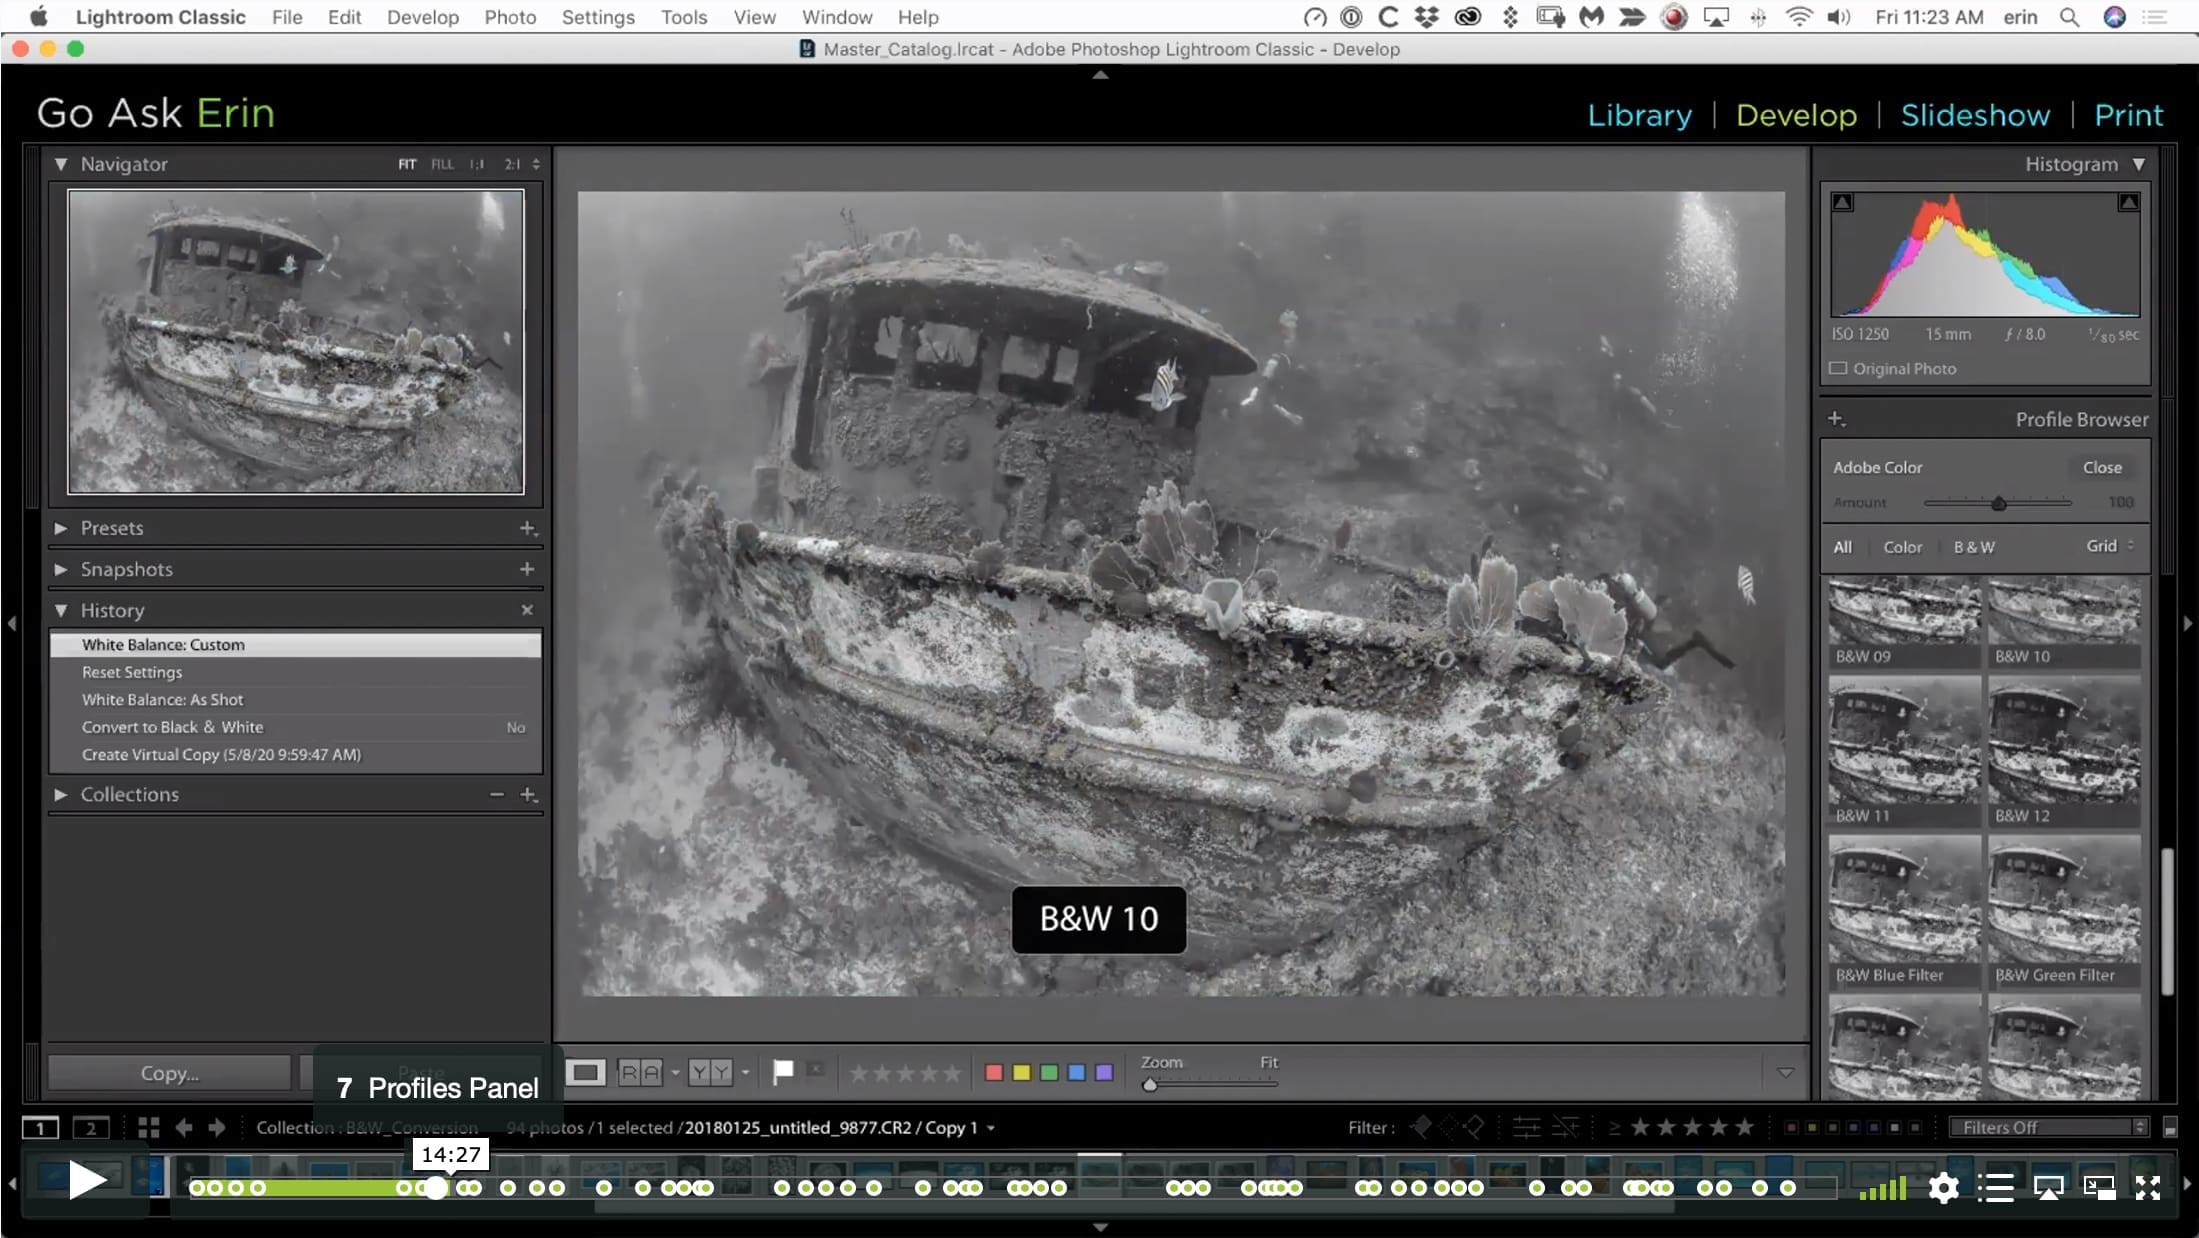
00:13:34 – Profiles Panel
00:15:07 – Presets
00:15:39 – White Balance 2
00:17:34 – The Targeted Adjustment Tool
00:19:10 – Artifacts in the B&W Mix Panel
00:20:15 – How the B&W Mix Panel works
00:22:51 – How the Tone Curve Works
00:25:04 – RGB Channels in Tone Curve
00:26:29 – Evaluating a Histogram
00:27:20 – More B&W Mix Panel
00:28:12 – Basic Panel
00:28:32 – Set White and Black Points with Clipping Previews
00:32:47 – Set “Before” History State
00:34:05 – Adjustment Brush on Ray
00:36:25 – Auto Mask
00:37:52 – Radial Filter
00:40:34 – Working with Wrecks
00:42:08 – Profile Browser for B&W Profiles
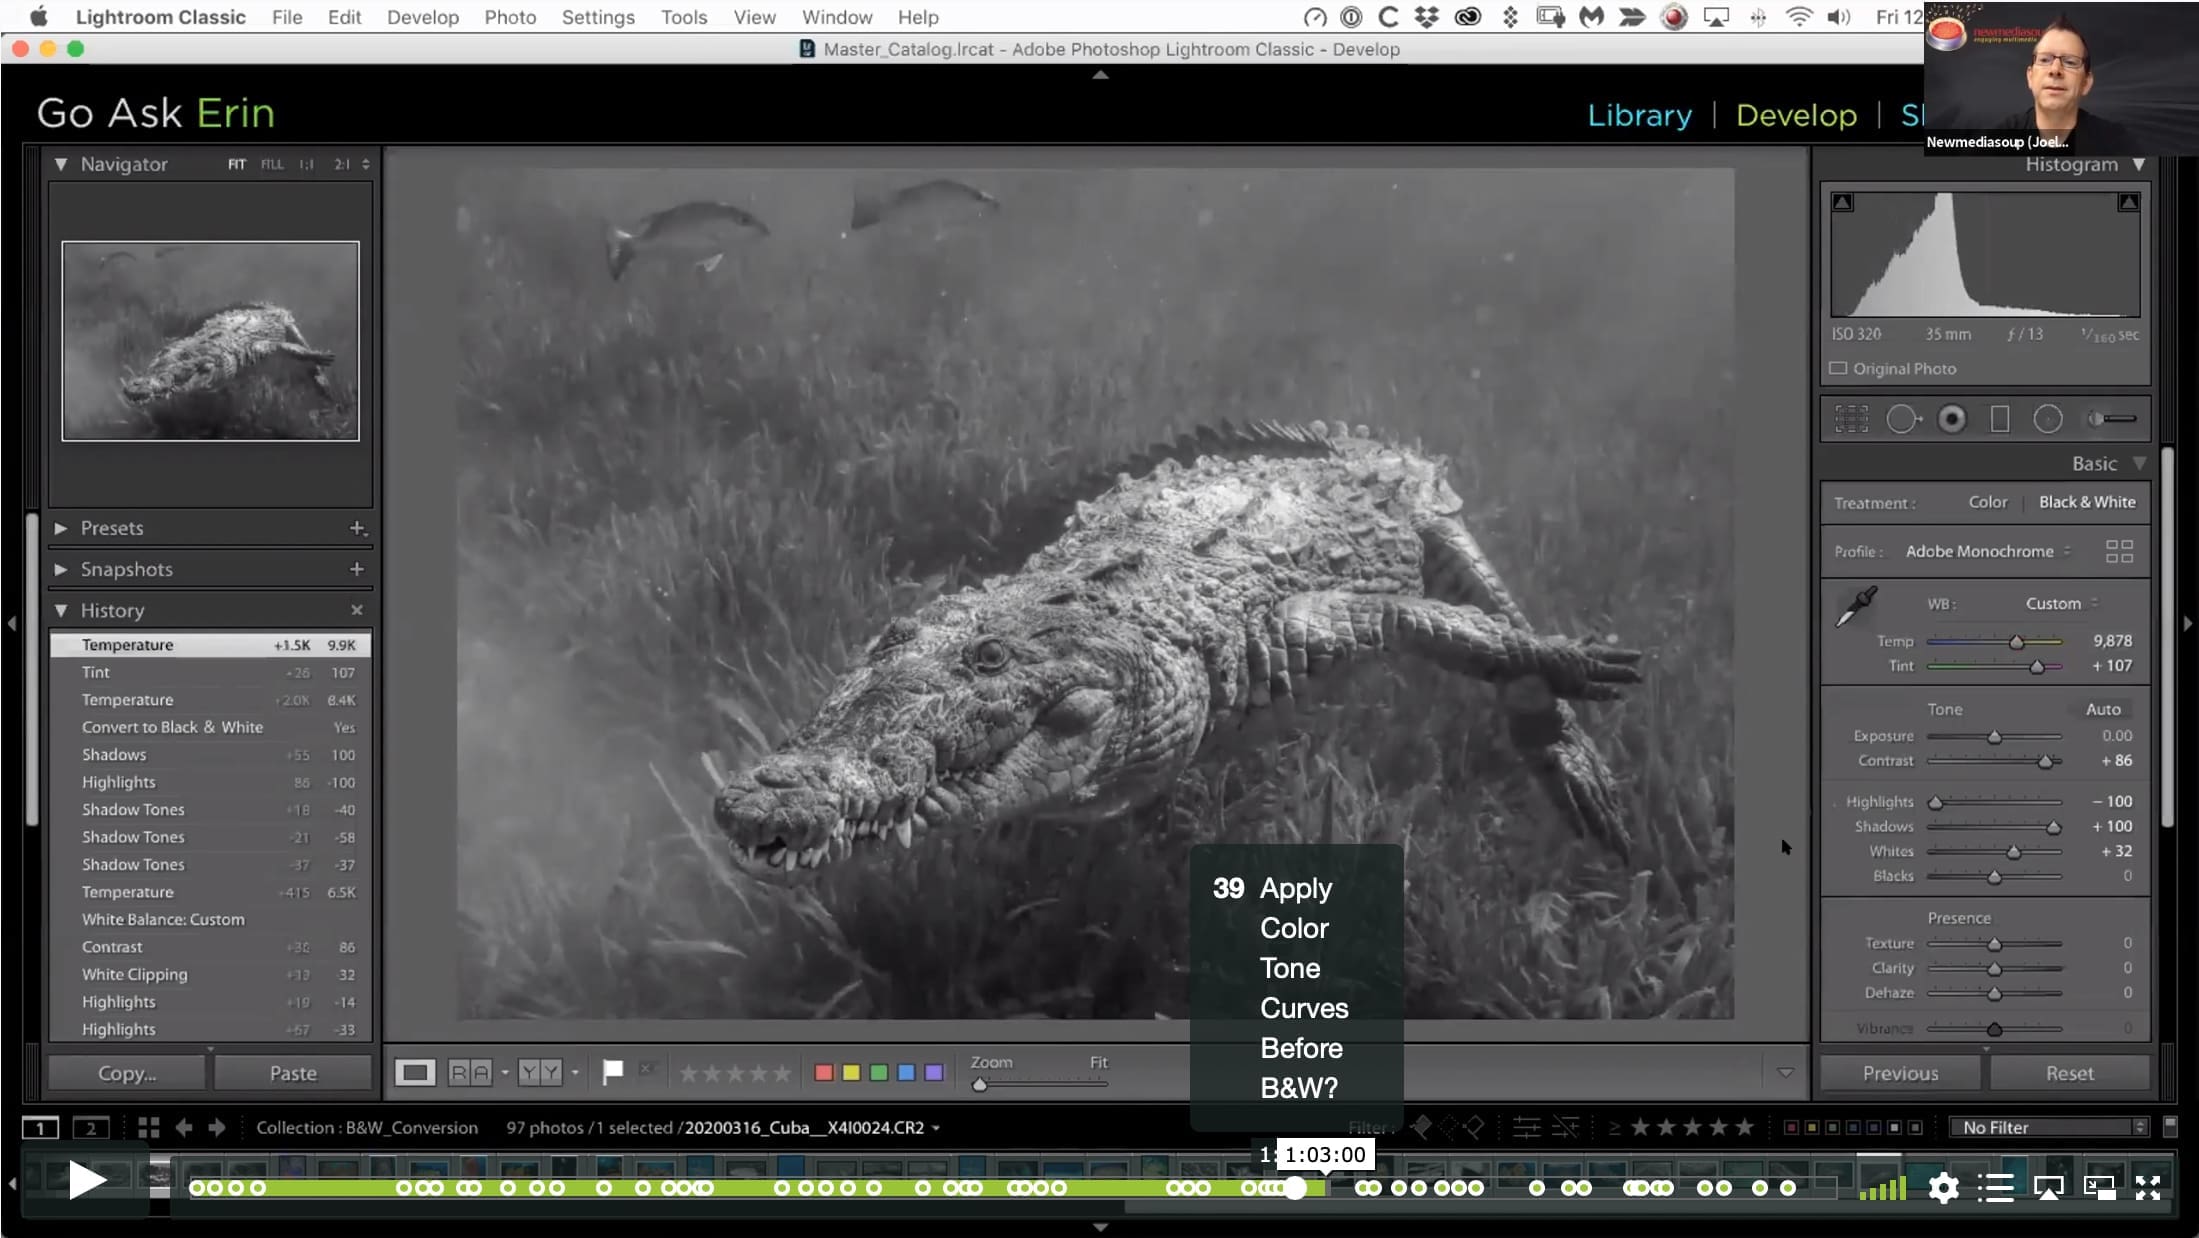
00:43:00 – Even More B&W Mix Panel
00:43:30 – Tone Curve 2
00:45:43 – Auto Mask 2
00:46:15 – Negative Dehaze
00:47:09 – Finessing a Mask
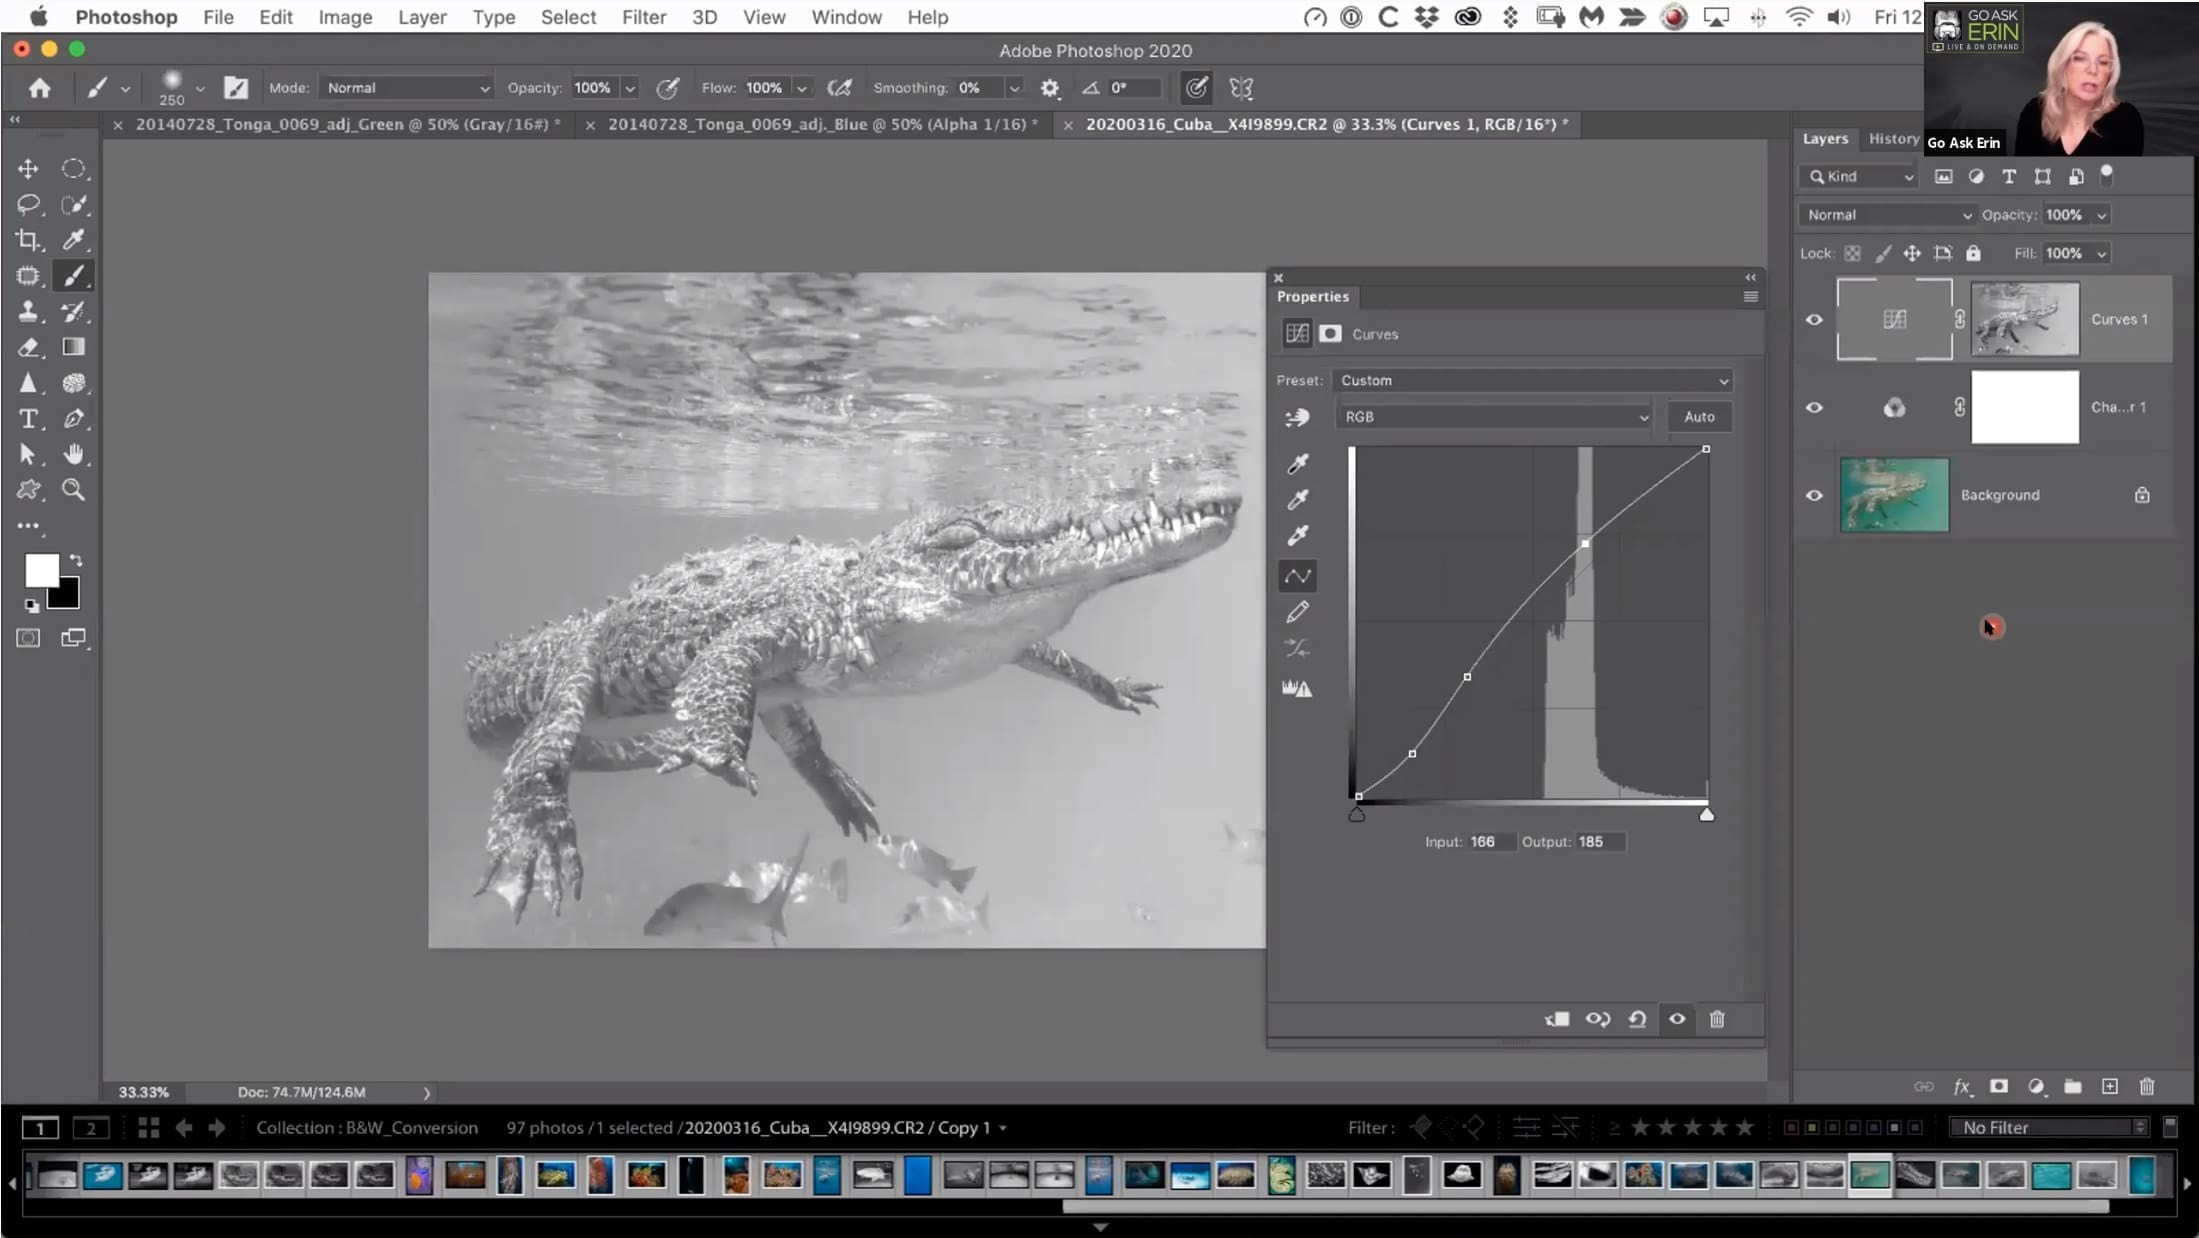
00:48:09 – Combining Lightroom Profiles in Photoshop
00:54:33 – Order of Conversion to B&W?
00:55:19 – When Clean Up Backscatter?
00:56:08 – How to Bring Out Light Rays?
00:58:40 – Using the Targeted Adjustment Tool
00:59:37 – Use Auto for B&W MIX?
01:00:03 – Adding Contrast and Vignette
01:00:29 – Keyboard Shortcut for Vignette
01:01:14 – Apply Color Tone Curves Before B&W?
01:05:01 – Merge to HDR?
01:07:02 – Jumping to Photoshop
01:08:08 – B&W Adjustment Layer in Photoshop
01:09:23 – Targeted Adjustment Tool in Photoshop
01:10:21 – Revealing Selected Areas of Color
01:11:18 – Channel Mixer
01:14:40 – Channel Mixer Panel Icons
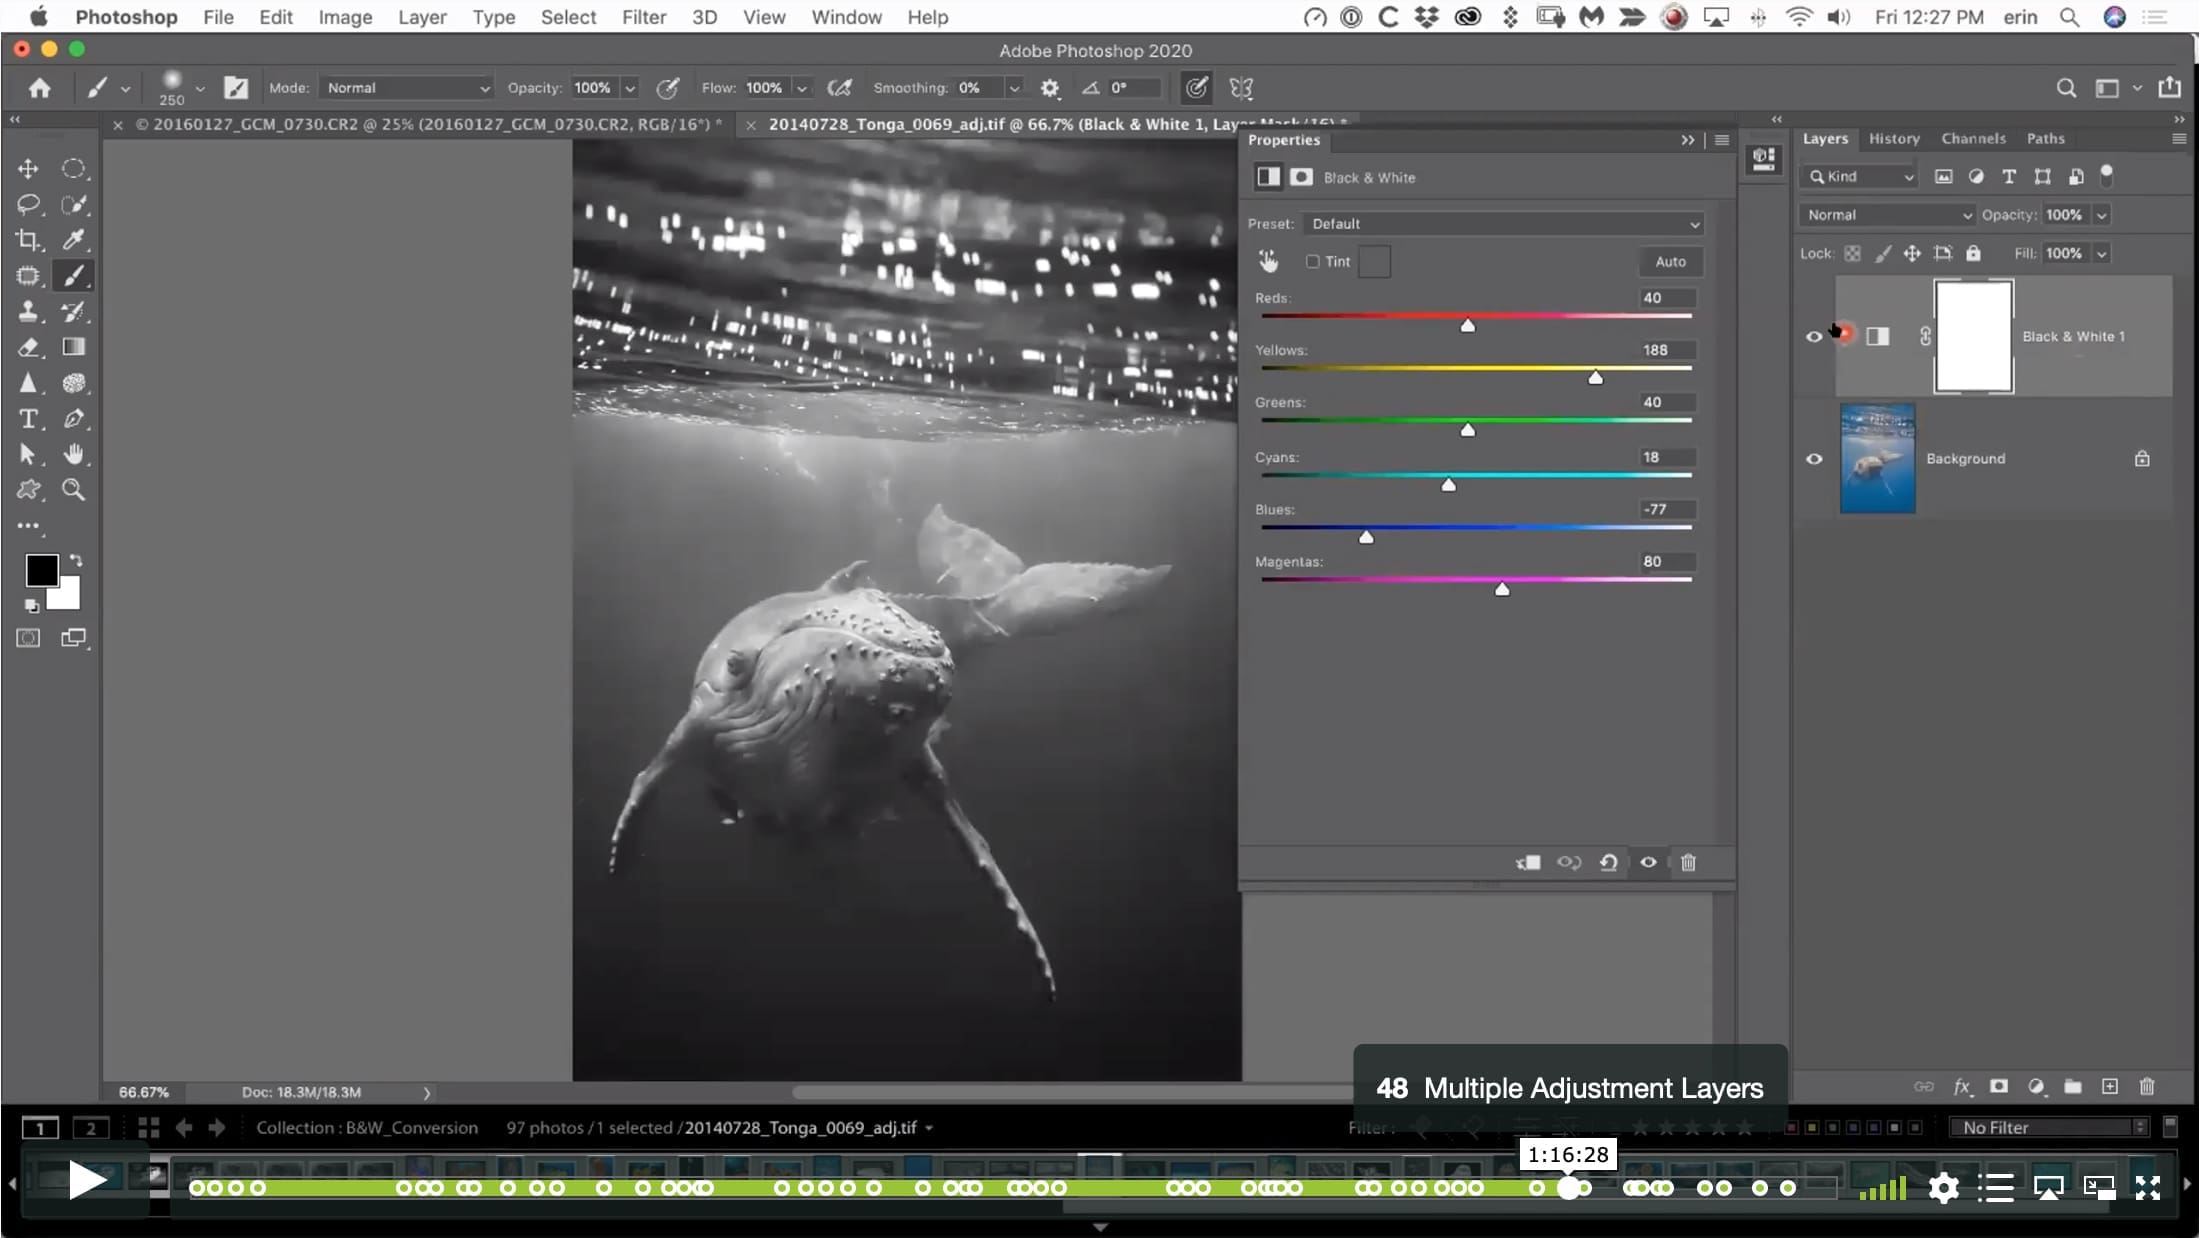
01:16:26 – Multiple Adjustment Layers
01:17:17 – Blend If
01:19:53 – Levels Adjustment Layer
01:20:19 – Flattening an Image
01:20:30 – Split Channels for B&W
01:21:23 – Calculations in Photoshop
01:21:52 – Erin’s Rant About Editing
01:24:01 – Channel Chops
01:25:05 – Review of Channels?
01:27:04 – Channels Gone Wild
01:28:36 – Thoughts on SilverFX Pro
© Go Ask Erin / Newmediasoup, LLC
Description
CLASS DETAILS
Runtime: 1 hour 31 minutes | Up to 1440p (2K) Resolution | Speed Control (.5 – 2x) | Interactive Chapter Markers | Bonus Downloadable Practice Files and Resources Included
CLASS OVERVIEW
Not everything in life is black & white, but every good monochrome image has both – and all the shades of gray in between. A 16-bit RAW file can have as many as 65,536 juicy tones to play with.
Lightroom’s default black and white conversion is predictably tame, but luckily there are myriad techniques in both Lightroom and Photoshop that let you bend the histogram to your will. We’ll examine the elements that make good black and white conversions, and explore plenty of options, from the basic to the baroque.
LIGHTROOM CLASSIC VERSION INFO
In Lightroom Classic Version 11 and Later, Adobe introduced a new way to make selections and masks in the Lightroom Develop Module. If you’re using Lightroom Classic 11 or Later, we recommend purchasing New Masking Magic in Lightroom Classic 11 in addition to this product to get up to speed on the new masking tools.
CHAPTERS
00:00:15 – Erin’s Intro
00:01:17 – Why Shoot in RAW?
00:02:28 – Auto Conversion is Boring
00:03:39 – Good Candidates for B&W Images
00:11:45 – What Makes Crappy B&W
00:12:50 – White Balance 1
00:13:34 – Profiles Panel
00:15:07 – Presets
00:15:39 – White Balance 2
00:17:34 – The Targeted Adjustment Tool
00:19:10 – Artifacts in the B&W Mix Panel
00:20:15 – How the B&W Mix Panel works
00:22:51 – How the Tone Curve Works
00:25:04 – RGB Channels in Tone Curve
00:26:29 – Evaluating a Histogram
00:27:20 – More B&W Mix Panel
00:28:12 – Basic Panel
00:28:32 – Set White and Black Points with Clipping Previews
00:32:47 – Set “Before” History State
00:34:05 – Adjustment Brush on Ray
00:36:25 – Auto Mask
00:37:52 – Radial Filter
00:40:34 – Working with Wrecks
00:42:08 – Profile Browser for B&W Profiles
00:43:00 – Even More B&W Mix Panel
00:43:30 – Tone Curve 2
00:45:43 – Auto Mask 2
00:46:15 – Negative Dehaze
00:47:09 – Finessing a Mask
00:48:09 – Combining Lightroom Profiles in Photoshop
00:54:33 – Order of Conversion to B&W?
00:55:19 – When Clean Up Backscatter?
00:56:08 – How to Bring Out Light Rays?
00:58:40 – Using the Targeted Adjustment Tool
00:59:37 – Use Auto for B&W MIX?
01:00:03 – Adding Contrast and Vignette
01:00:29 – Keyboard Shortcut for Vignette
01:01:14 – Apply Color Tone Curves Before B&W?
01:05:01 – Merge to HDR?
01:07:02 – Jumping to Photoshop
01:08:08 – B&W Adjustment Layer in Photoshop
01:09:23 – Targeted Adjustment Tool in Photoshop
01:10:21 – Revealing Selected Areas of Color
01:11:18 – Channel Mixer
01:14:40 – Channel Mixer Panel Icons
01:16:26 – Multiple Adjustment Layers
01:17:17 – Blend If
01:19:53 – Levels Adjustment Layer
01:20:19 – Flattening an Image
01:20:30 – Split Channels for B&W
01:21:23 – Calculations in Photoshop
01:21:52 – Erin’s Rant About Editing
01:24:01 – Channel Chops
01:25:05 – Review of Channels?
01:27:04 – Channels Gone Wild
01:28:36 – Thoughts on SilverFX Pro
© Go Ask Erin / Newmediasoup, LLC